Assign a Label
Method 1: Assign a Label with Aims Manager application (in Store).
The Aims Manager app provides a user-friendly interface for managing electronic shelf labels. Aims Manager app not only makes it easy to "Assign" or "Unassign" products, but also helps control different features of the ESL.
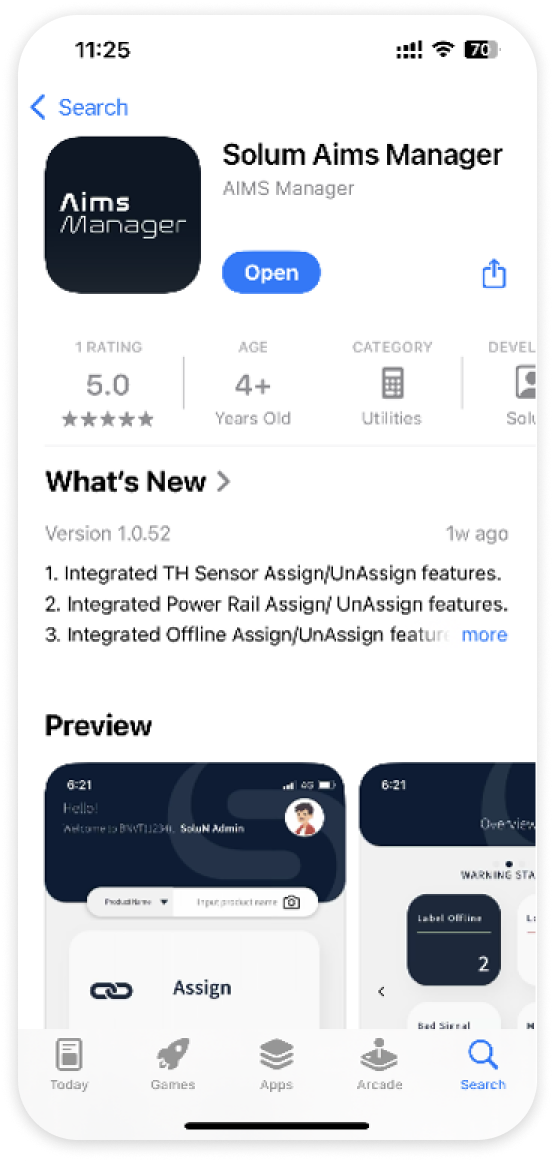
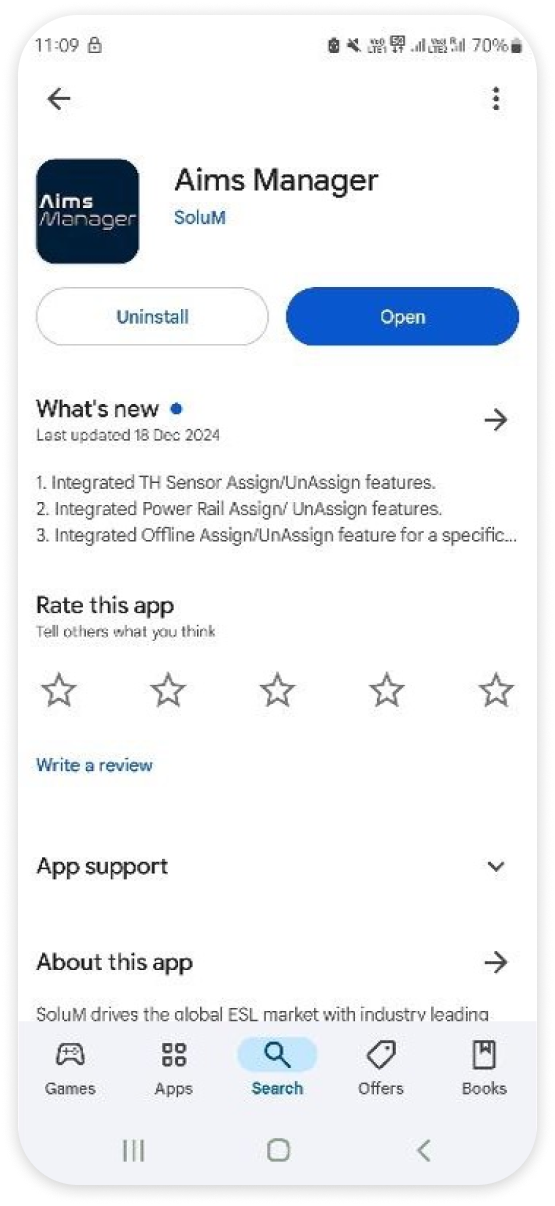
Installing the Aims Manager app on your mobile device.
Search for "SOLUM Aims Manager" on either the Google Play Store or Apple's App Store.
Aims Manager Setup
After installing and opening the app on your device, the first step is to set up the server. Once the server is added, users can log in to the app.
Server Setup
- Manual Server input:
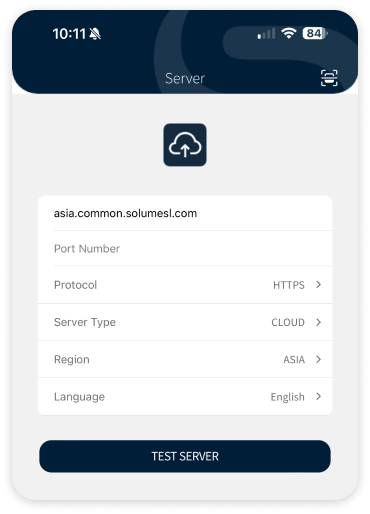
If you need further assistance, feel free to reach out to the SOLUM Helpdesk.
If red messae appears, check again input values, make sure they're all correct. Or, check device is connected to the internet.
- QR Code registration:
Admin users can register the app using a QR code generated from the AIMS Dashboard.
- Log in to the AIMS SaaS Dashboard.
- Navigate to: Dashboard > CONFIG > System Config > PDA Config > GENERATE QR.
- Input the information. If no information is entered, the QR code will include only the server details and exclude user-specific details.
- Click Generate QR to create the code. The generated QR code can then be scanned to register the app.
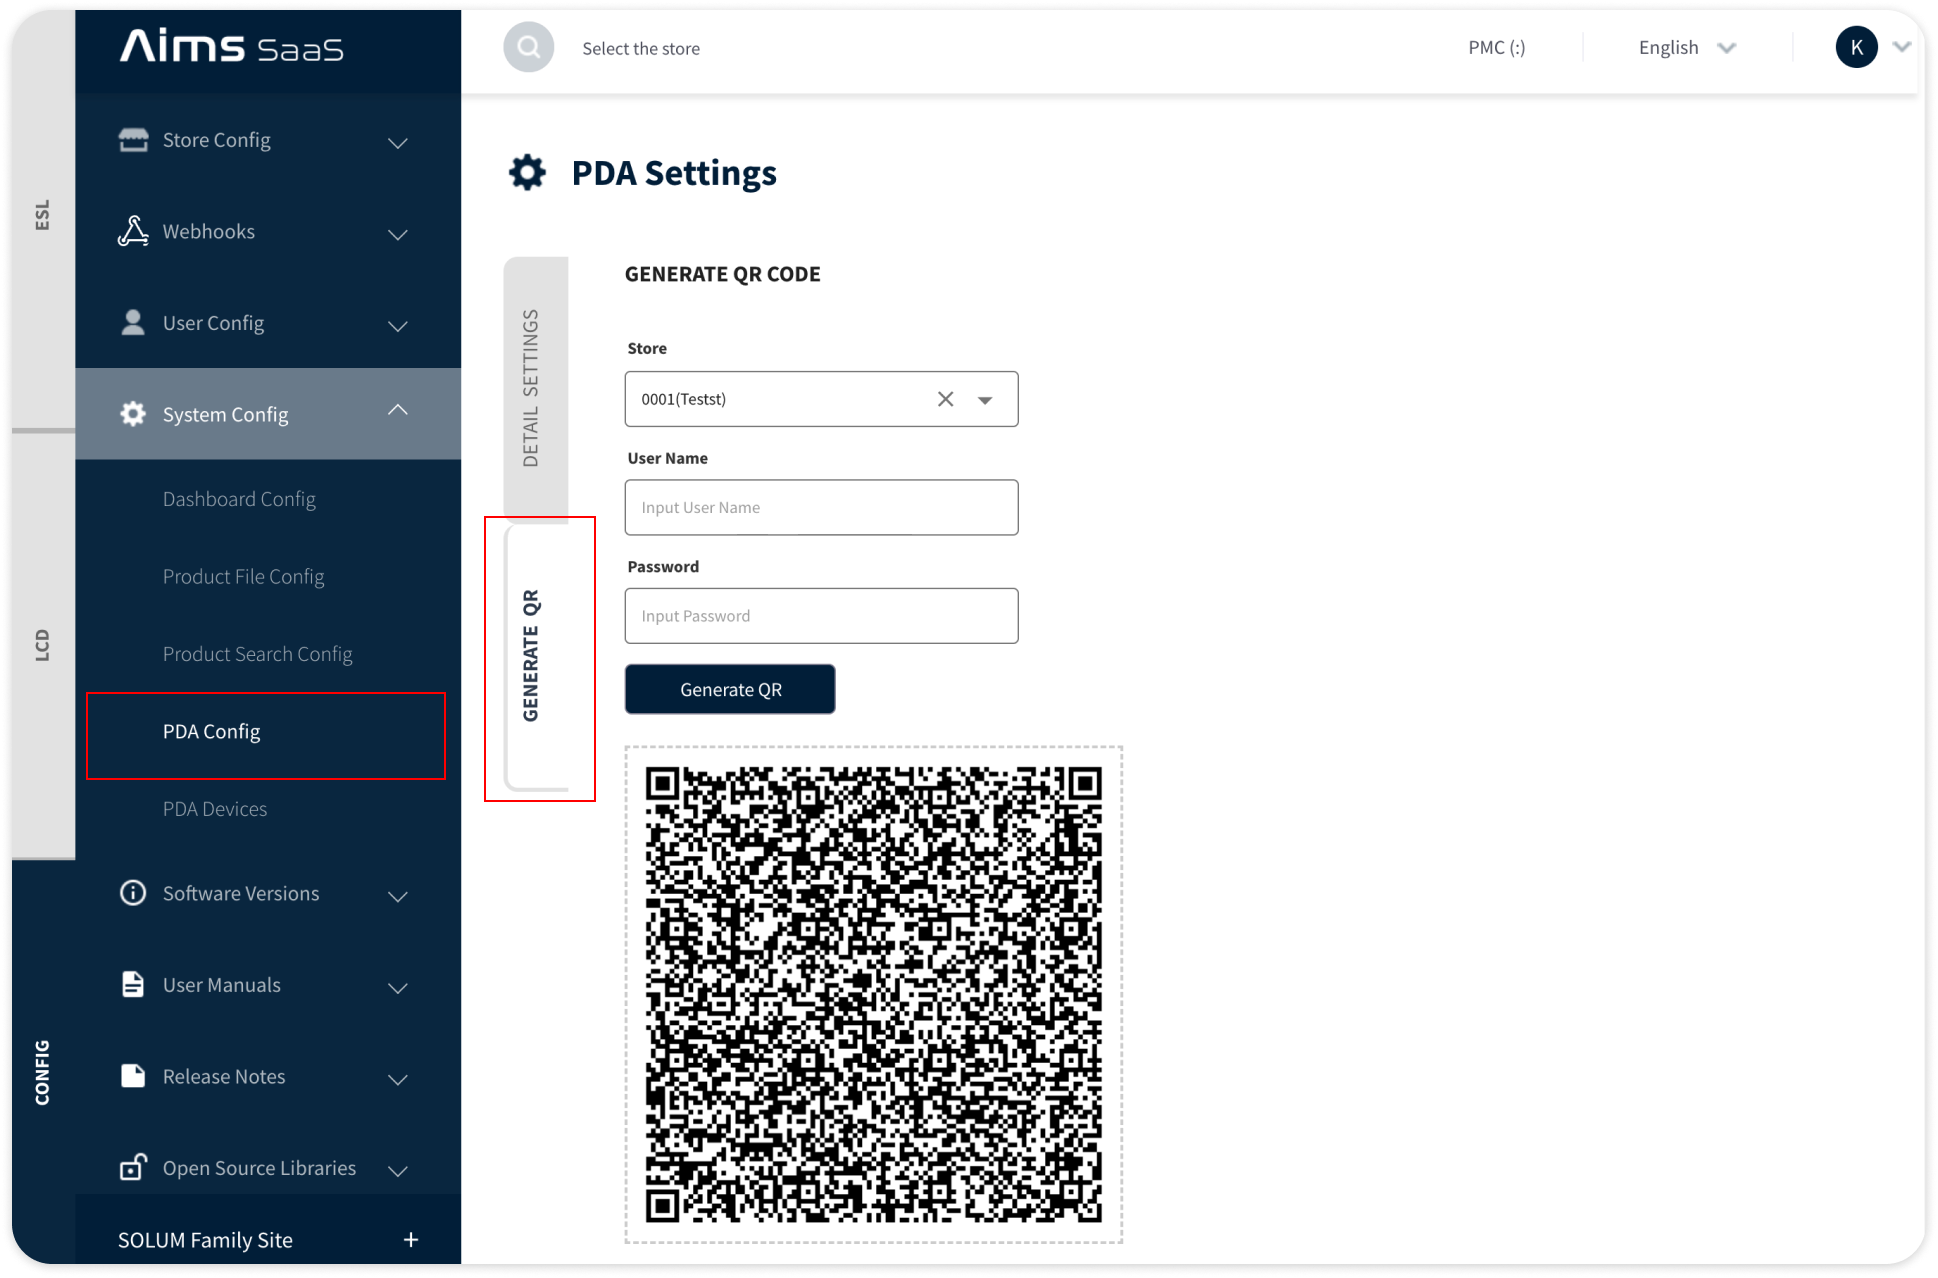
With the QR code generated, follow these steps to complete the registration:
- Open the AIMS Manager app on your device.
- Tap the scan icon in the top-right corner of the screen
- If the scanned details are correct, a green message will be shown when the connection test is successful, click Save
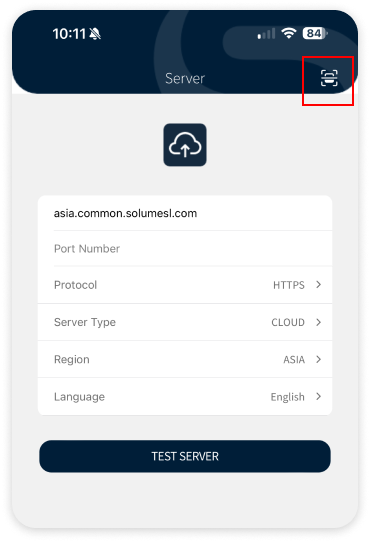
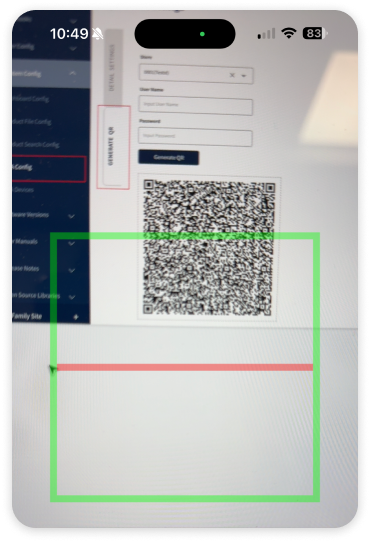
Log in with Aims SaaS user account
Once the server is successfully registered, use the same credentials you use to log into the AIMS Dashboard to access the app.
- Enter Username and Password.
- Click Sign in
Before assigning a label, ensure your AIMS Manager is correctly configured.
AIMS Manager Connection Details
- AIMS Manager URL:
- Port:
443 - Protocol:
HTTPS - Server Type:
Cloud - Region:
Asia
Store assign
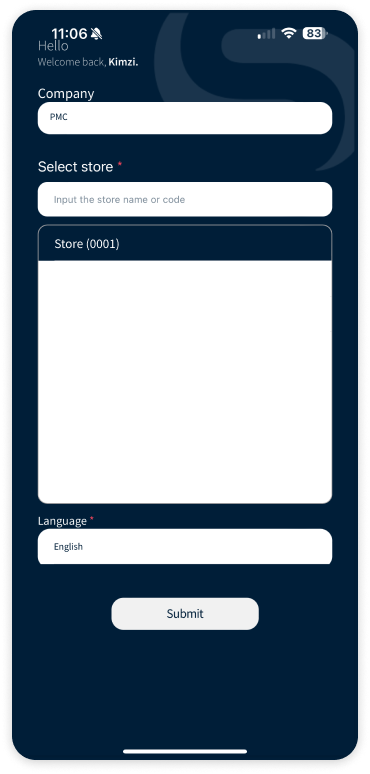
After successfully logging in with your credentials, you will be prompted to select a store from the list of stores assigned to you.
- Select the Store
- Click Submit to proceed to the store-specific pages
- After selecting and submitting the store. You will navigate to Aims Manager Home screen.
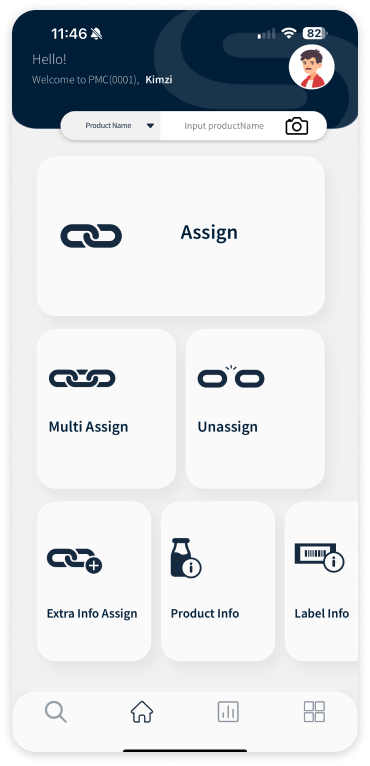
Assign single product to label
Tap the Assign button on Home screen
Enter product detail
In the Input field, user has 2 methods for assign product:
- by Scanner: use camera to scan product barcode.
- by Manual input: enter product detail.
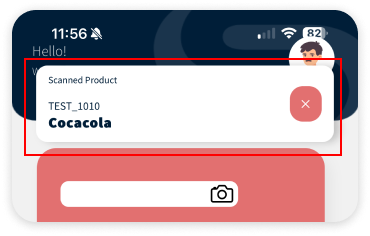
When product is found: The system will display the product name for confirmation.
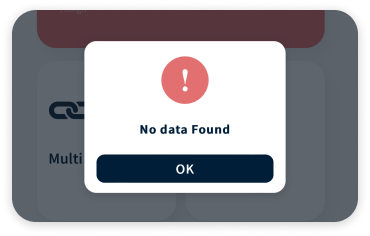
When product is NOT found: A pop-up will appear notifying you of the issue.
Scan or Enter Label ID
Similar with the Scan Product info method. To enter Label ID, user can using any of the following methods:
- by Scanner: use camera to scan Label ID code which can be found on the front display or sticker of the label.
- by Manual input: Input the Label ID manually.
- by NFC: Bring your mobile device close to the label to scan by tapping the label by NFC method.
- Once the assign is successful, a Assign Complete message will be appeared.
Note: for NFC method, both the mobile device and label must support NFC for this to work.
Make sure the layout template has ben created and mapping for the correct label resolution & type.
To get more information about Layout Designer, visit this Create a Layout and Layout template menu for more detailed docs.
Method 2: Assign a Label via AIMS SaaS Dashboard.
There are 2 methods to assign the product to label, user can use Manual assign method or directly upload file for repetition process.
Manual assign method
1Navigate to Dashboard > ESL > Label > Label Operations tab.2Click the Assign button.3Fill the required input fields.
- by Tab: PRODUCTS
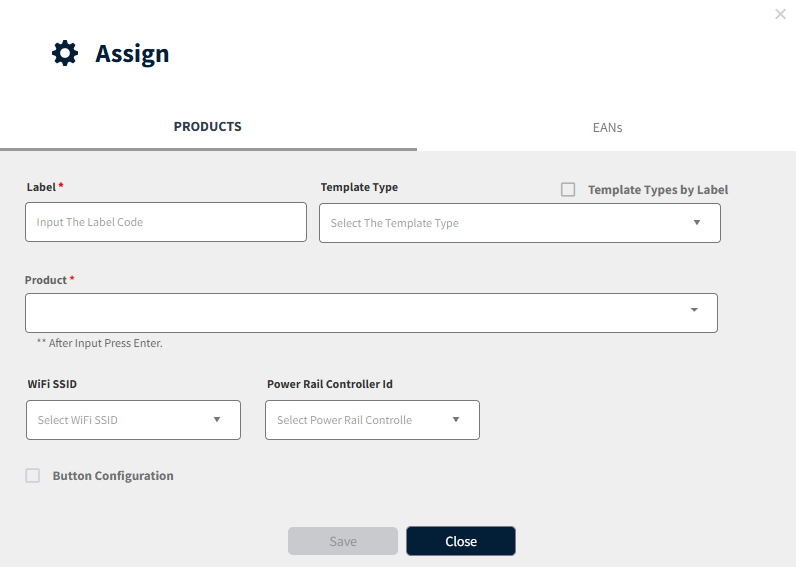
- Label ID : A unique 12-digit alphanumeric value found on the back of the tag or the display if powered on out-of-box.
Template type : Select the appropriate template type.
Note : See more detail how to import layout design as template file in Template Groupping & Template Mapping page.- Product ID : Enter the
PRODUCT_IDto inquiry product for assign label purpose.
- by Tab: EANs
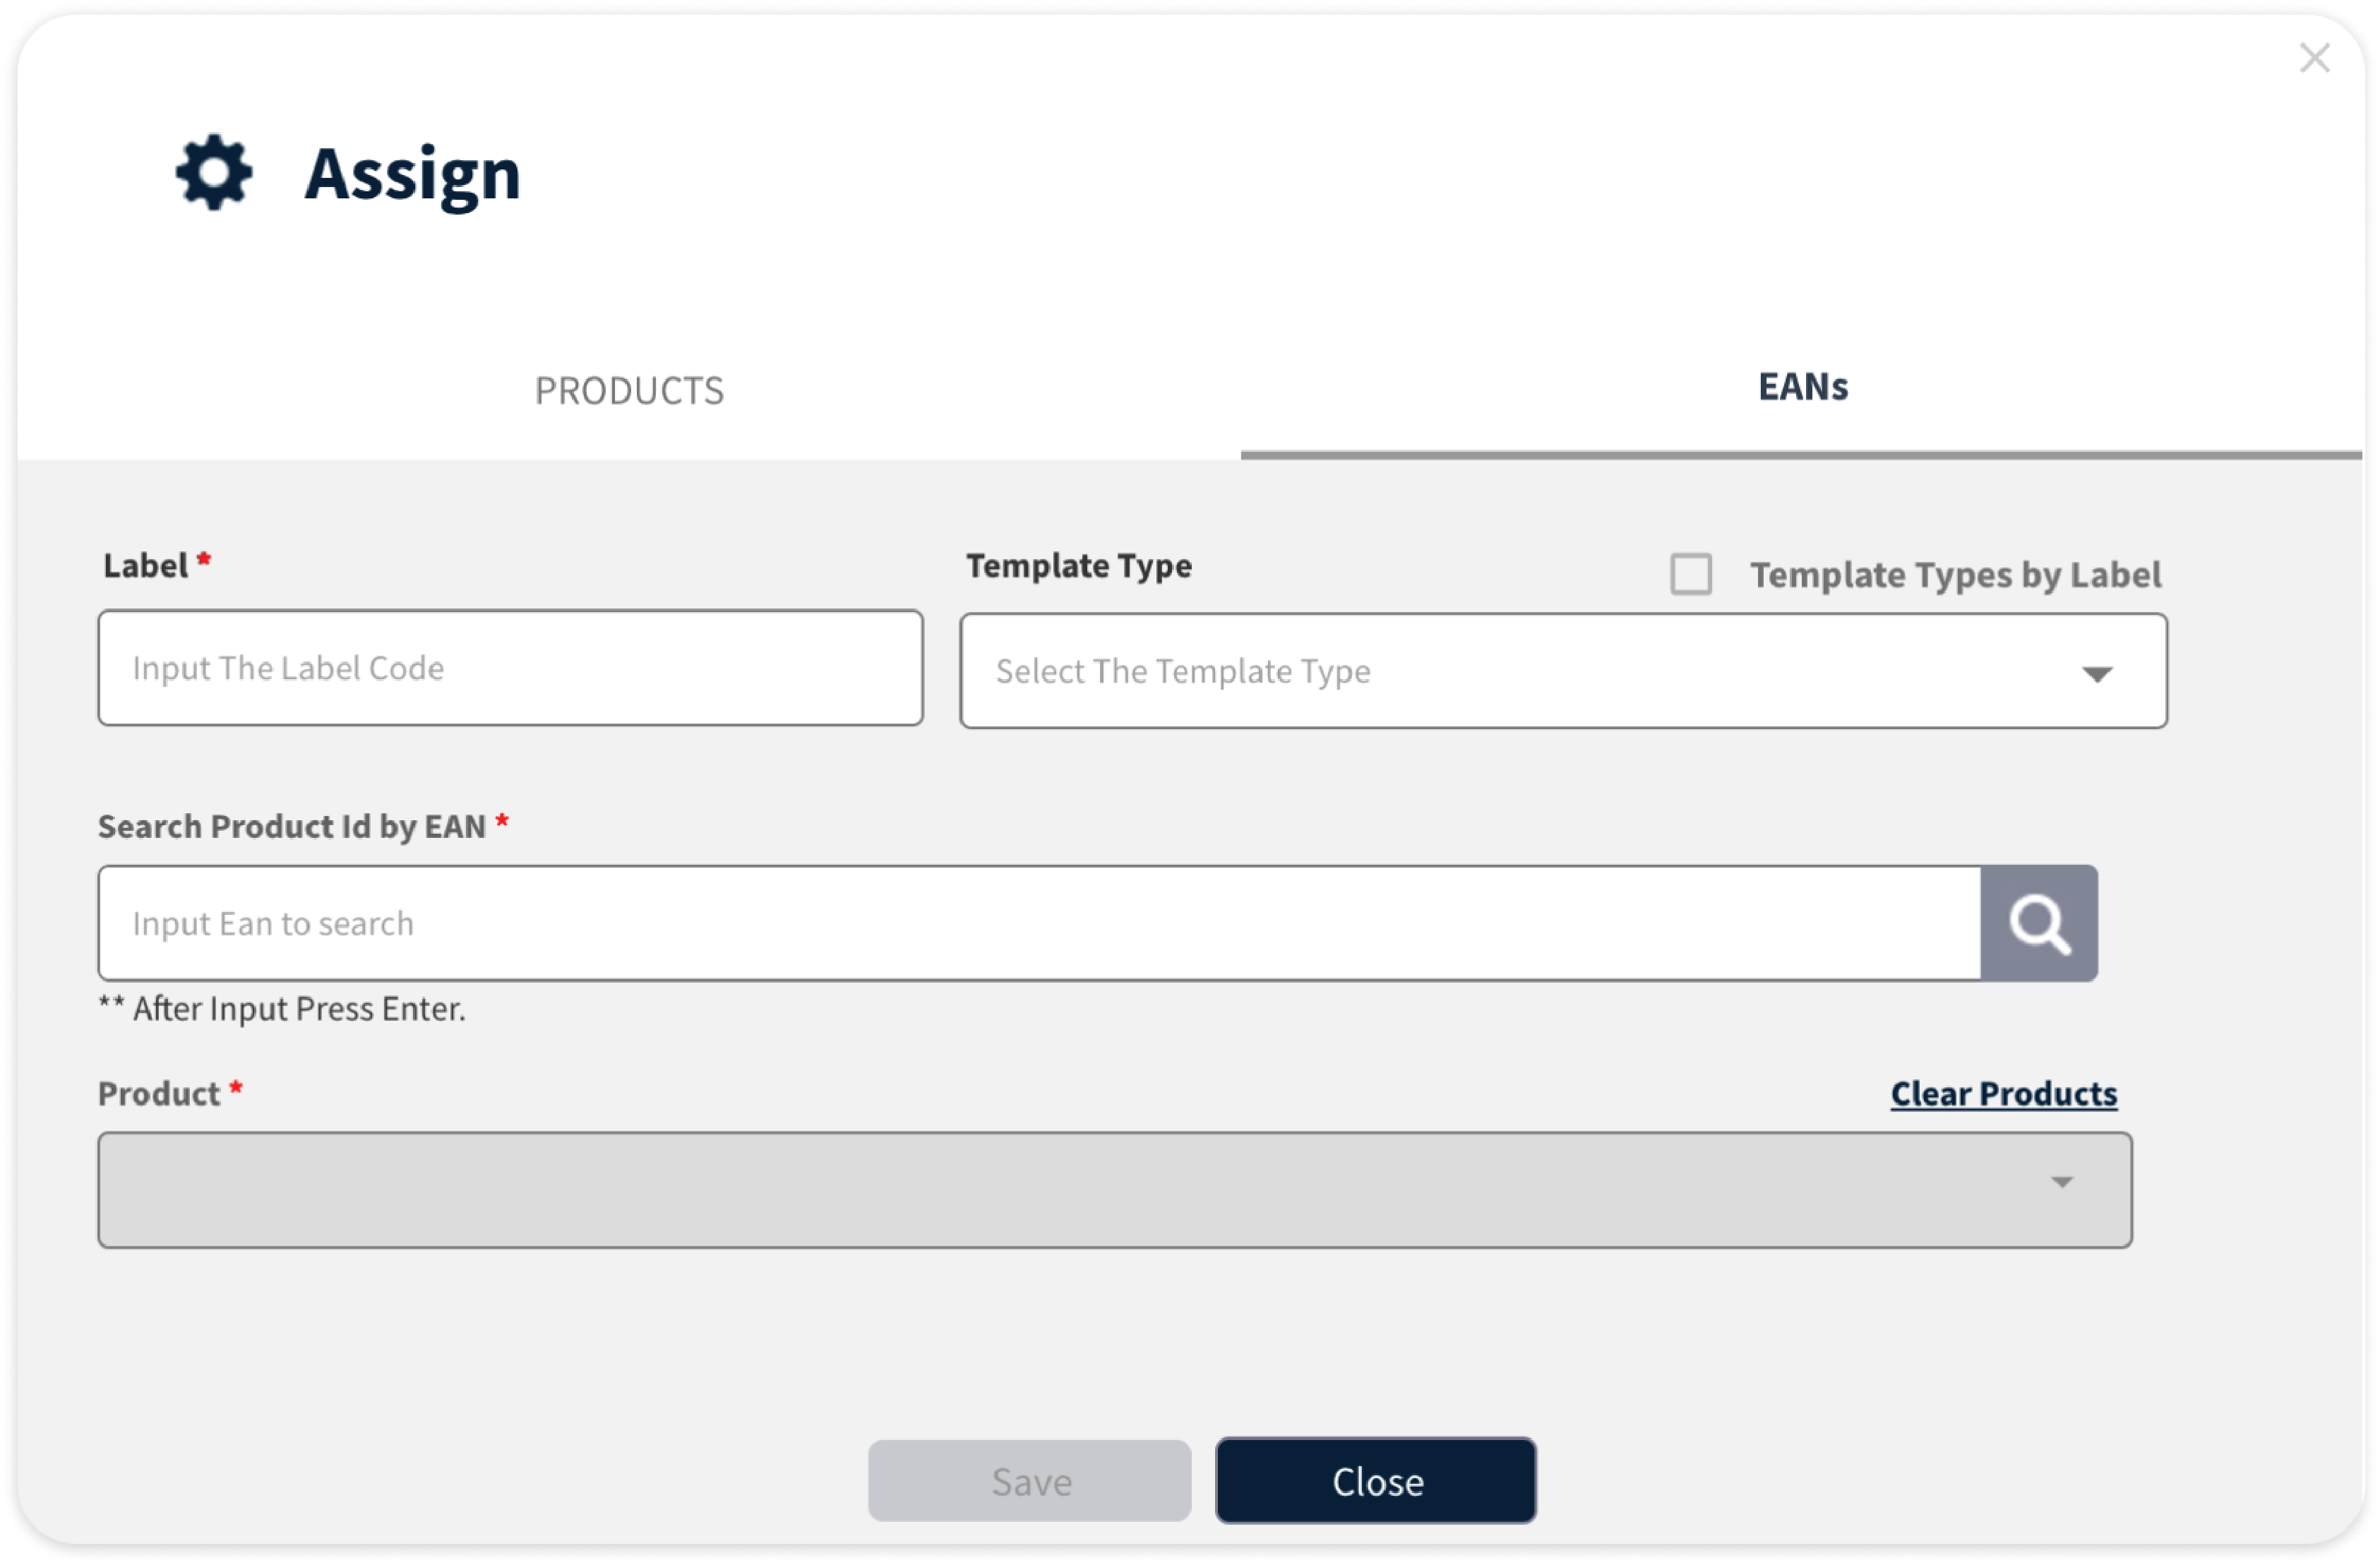
- Label ID : A unique 12-digit alphanumeric value found on the back of the tag or the display if powered on out-of-box.
Template type : Select the appropriate template type.
Note : See more detail how to import layout design as template file in Template Groupping & Template Mapping page.Product ID by EAN : Enter the
EANcode to inquiry product for assign label purpose. *Note : Navigate Dashboard > ESL > Product > EAN Mapping to inquiry theEANcode for each Product_item.- The
PRODUCT_IDwill be shown in the Product field automatically after inquiry theEANcode.
Upload file
1Navigate to Dashboard > ESL > Label > Label Operations tab.2Click the File Upload button.
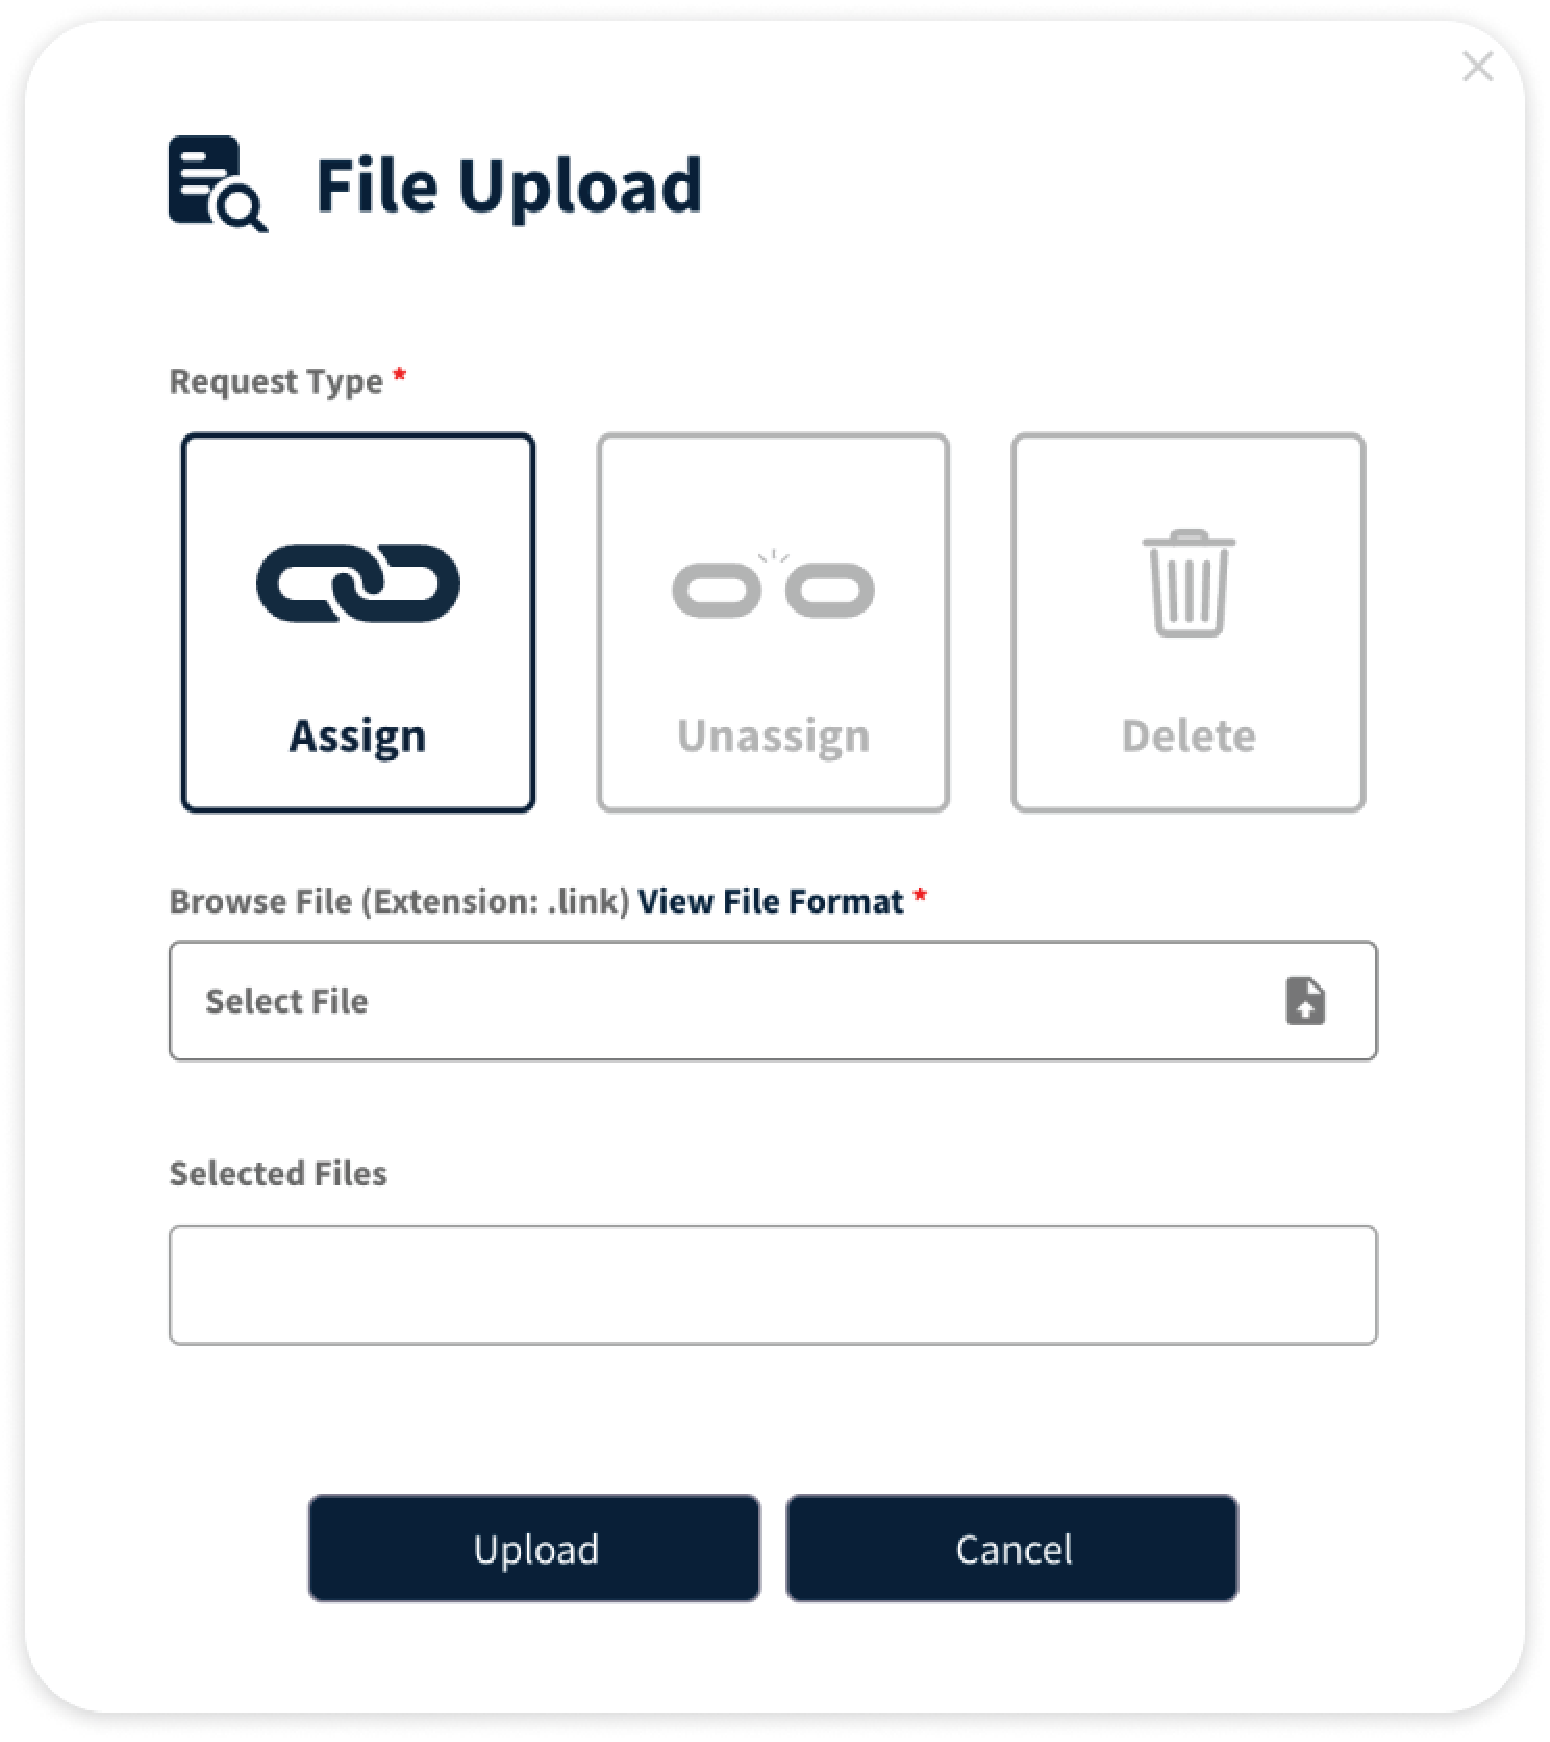 3Import the file to Assign.4Click on Upload button.
Track Label Status
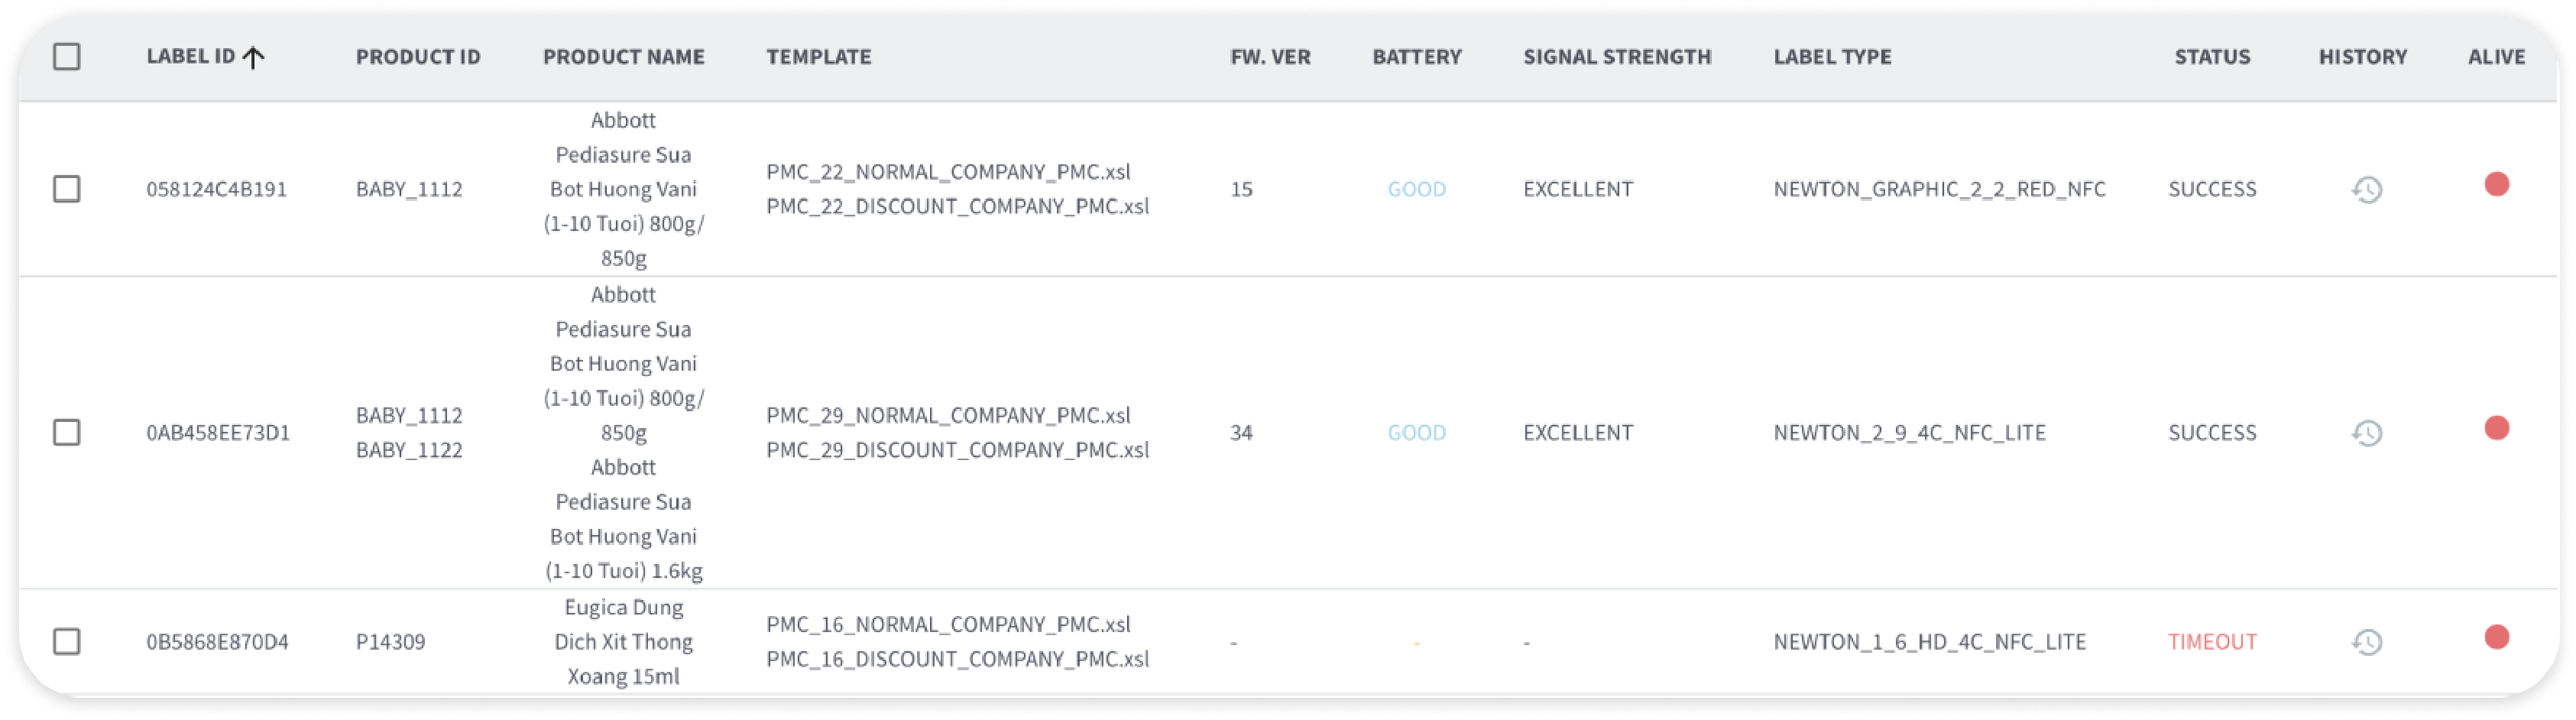
- To track Label Status, navigate to Dashboard > ESL > Label info.
- Once the label assigned, the dot_color attribute of column
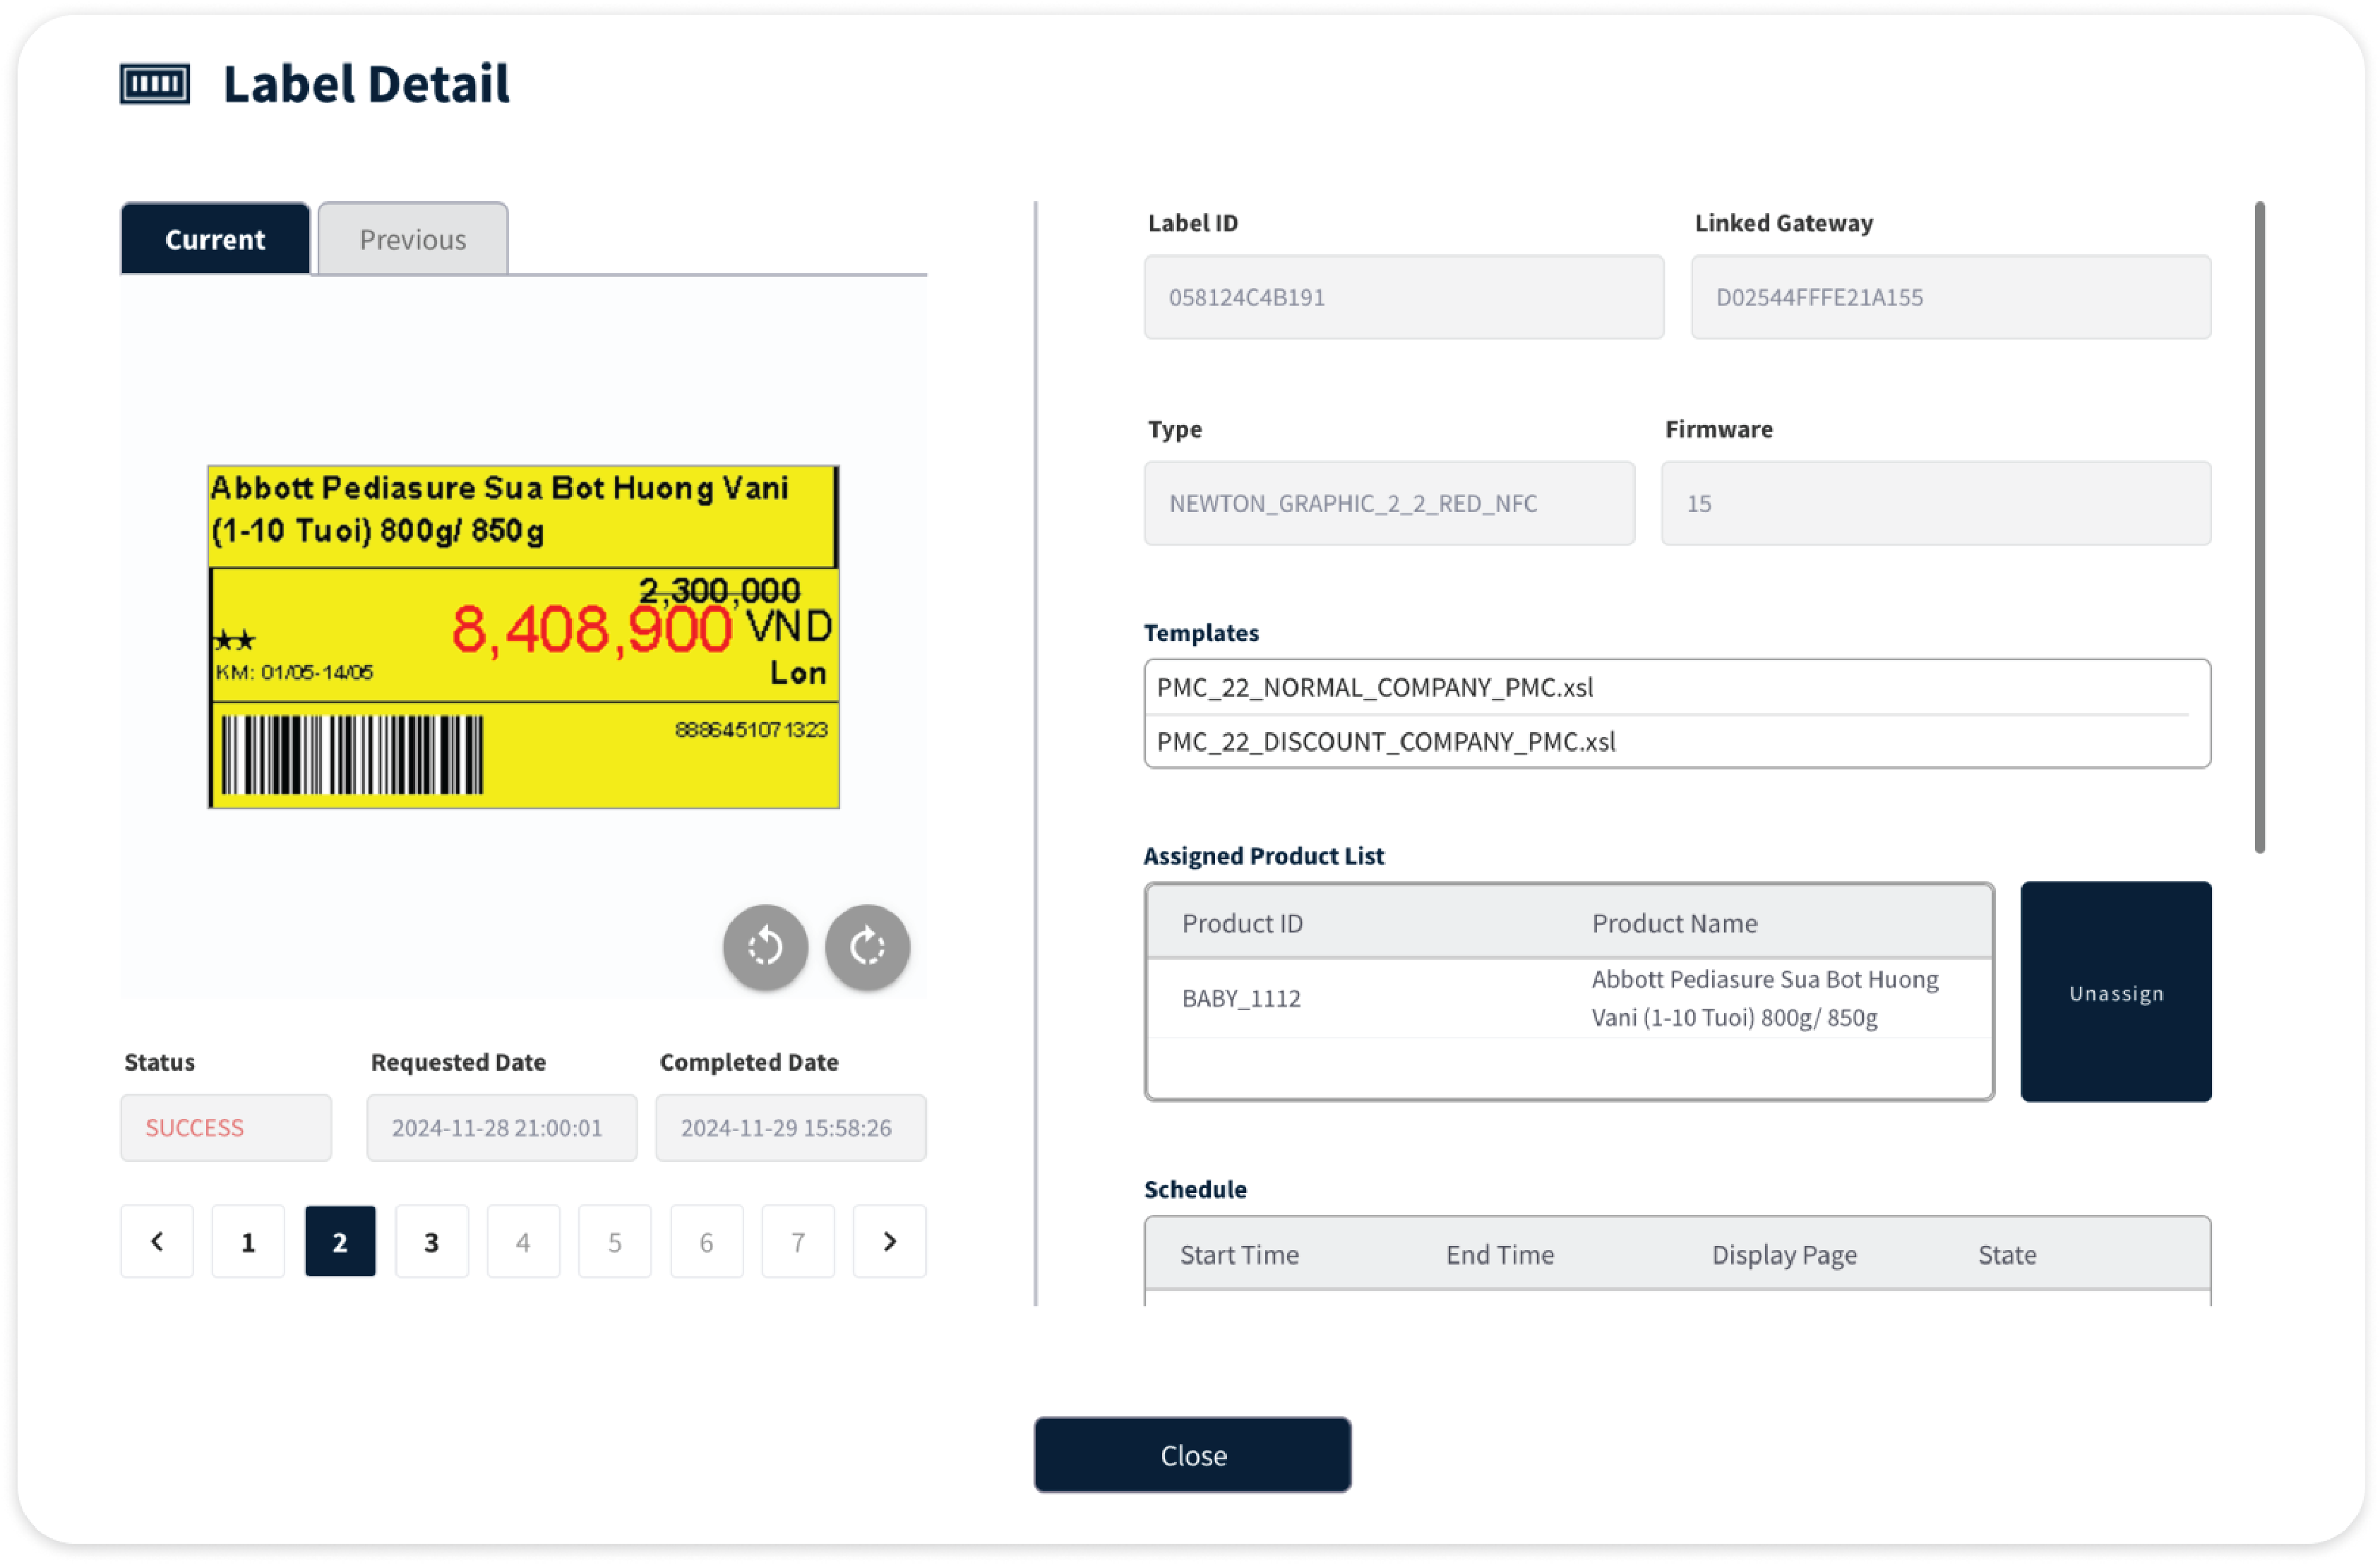
NETWORKorSTATUSfor a label will update color followingPROCESSINGandSUCCESSresult. - Check the detailed information, including a preview image, in the Label Detailed popup.